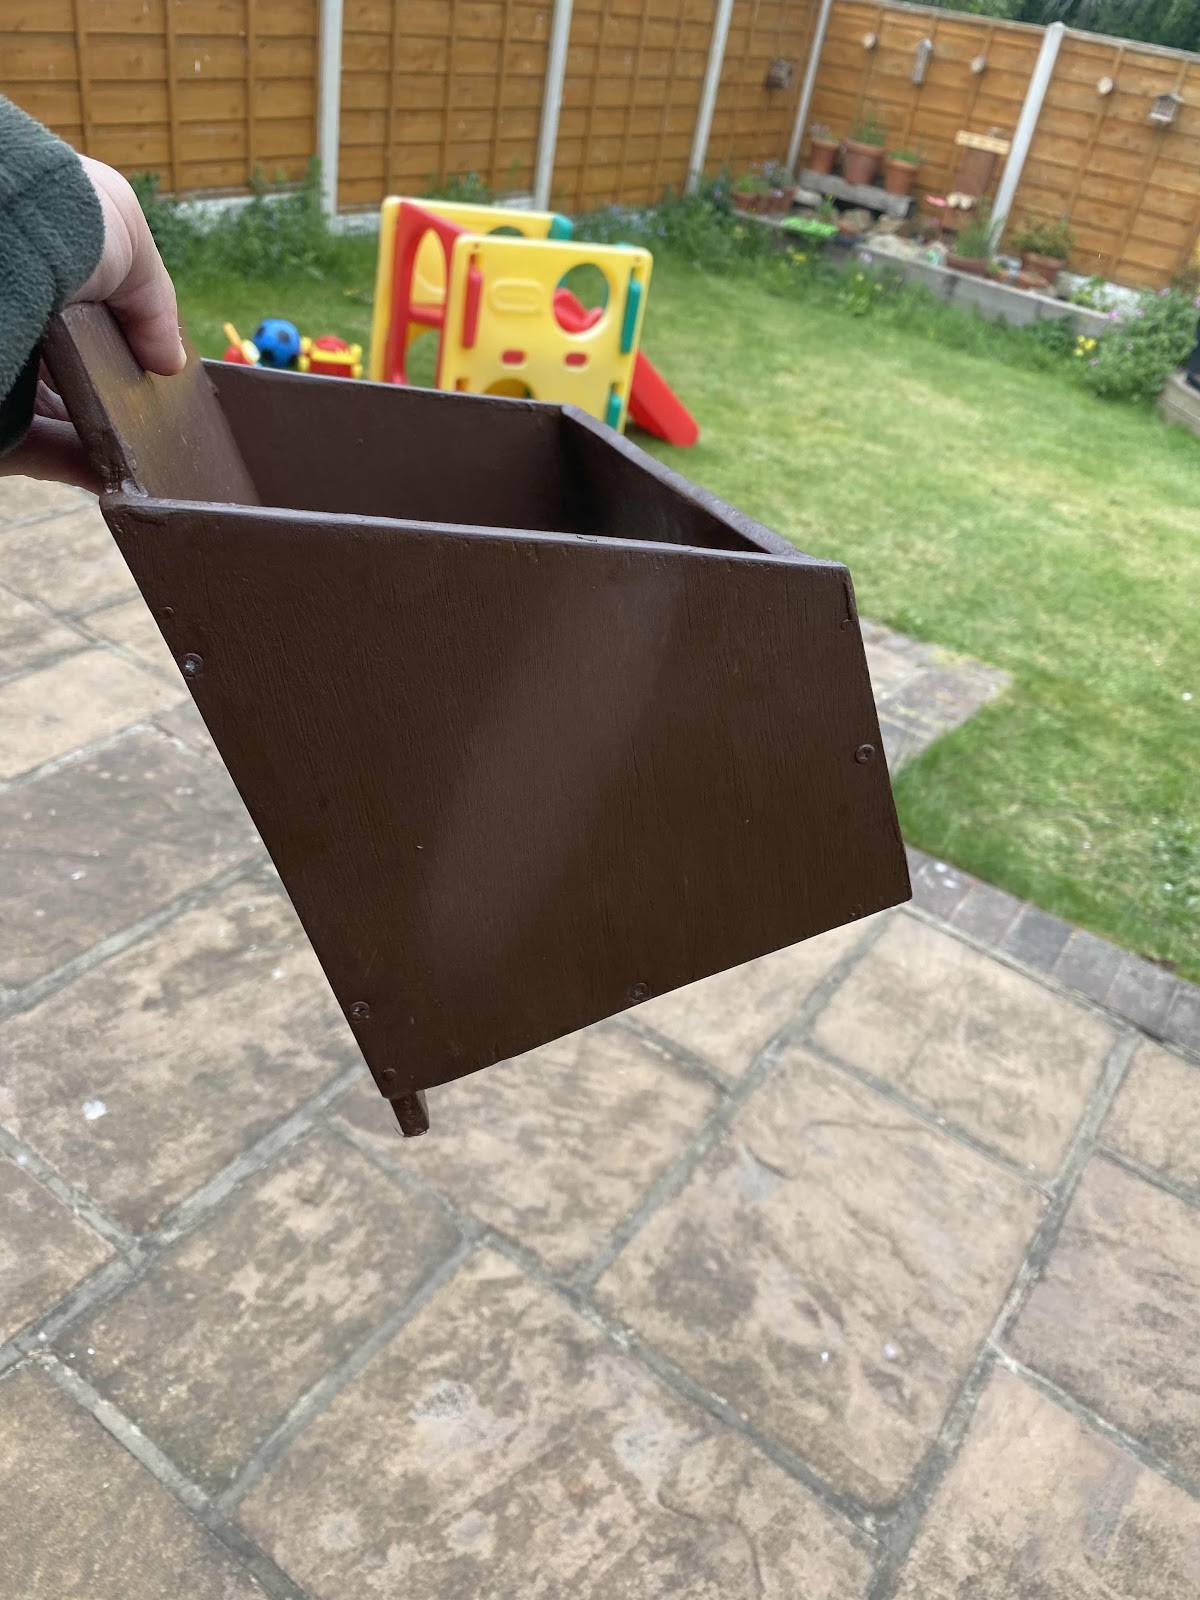
So I decided to build some new swifts boxes built to the spec of the house eaves on our estate so they would sit flush.
I measured up then cut the wood with a jigsaw, nailed together and used no more nails to seal. I then sanded the boxes with an electric sander and painted the boxes with teak oil and then PVA to seal.
Another trick I found when building owl boxes is if you seal the edges using exterior filler and the sand and paint with pva glue, it gives a smooth and rock solid finish so I also did this.
I’m always conscious when using non exterior ply to give it a good few coats to seal as it easily splits if water gets in.
After this I painted 3x with ronseal dark oak wood paint (to match the colour of the houses.
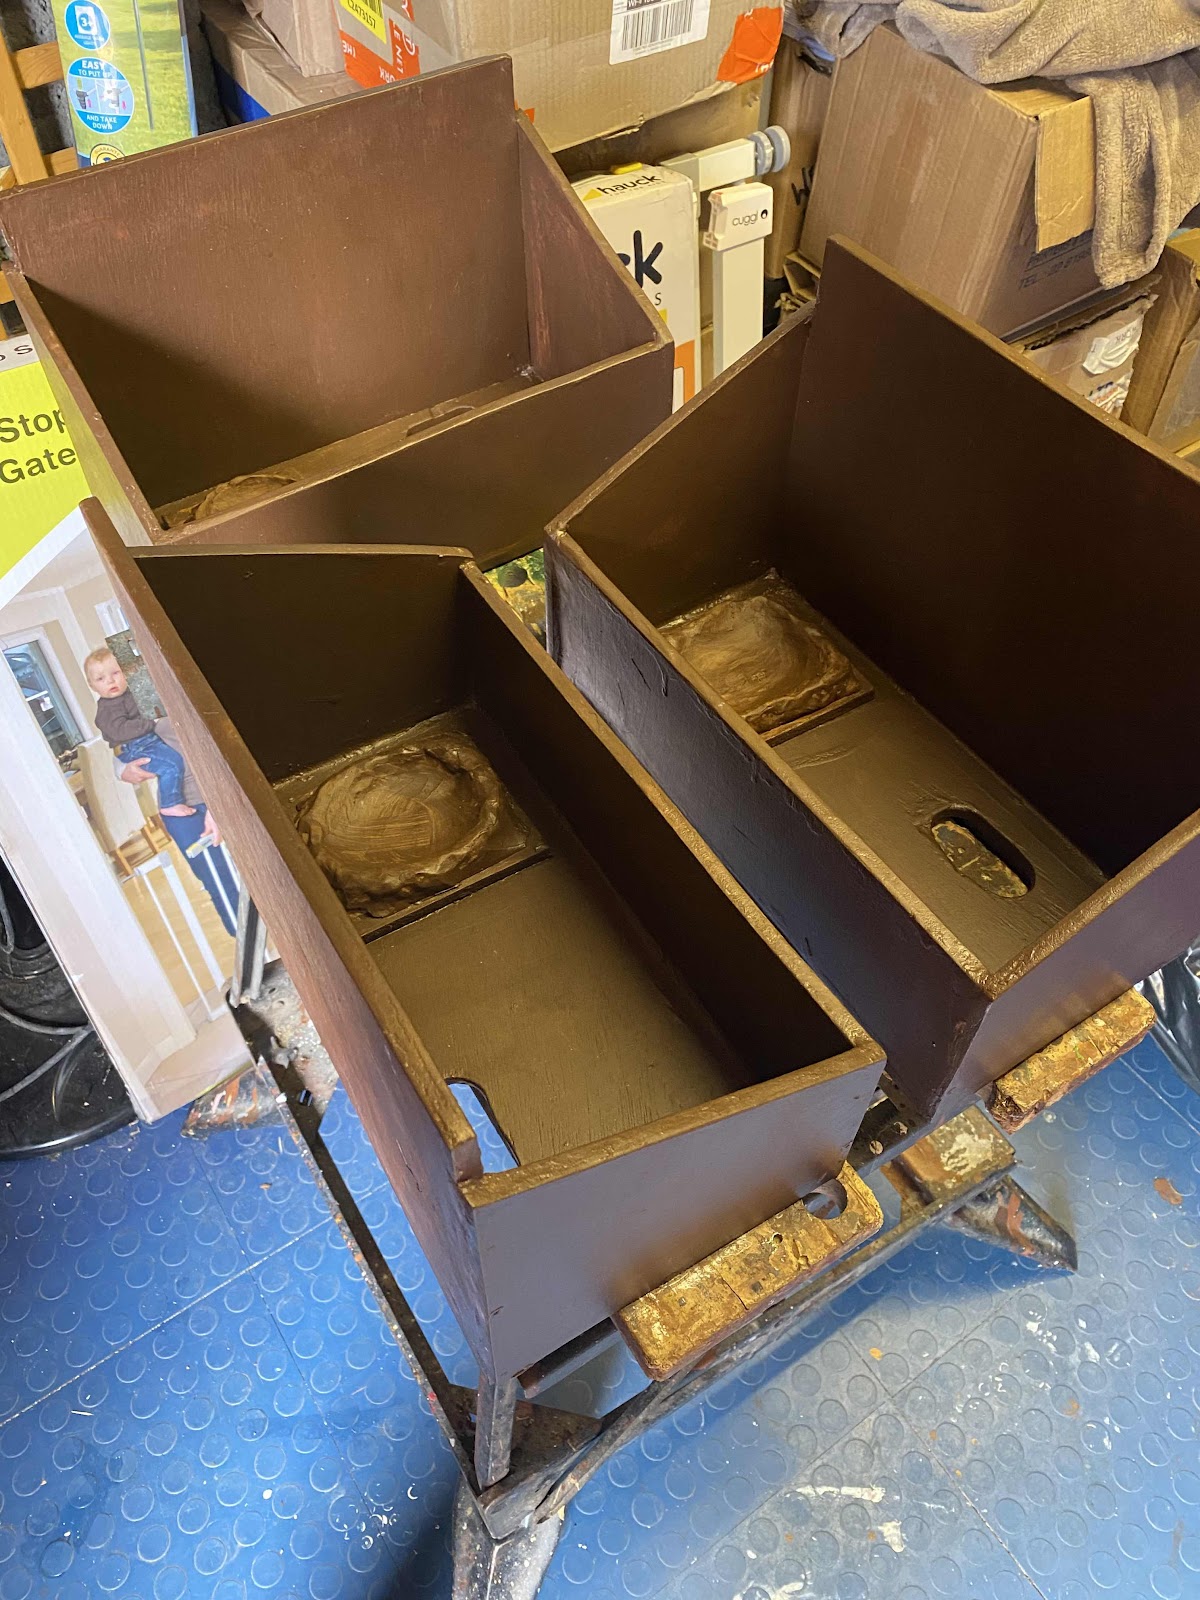
The boxes have a 30mm x 65mm bottom entrance that they can swoop into. There is also a grippy landing strip. I decided to try a bottom entrance to keep the boxes unobtrusive if the neighbours want one. I also referred to the Bristol swifts blog which mark advised that these boxes work better for him. I plan to place two of these on the front of my house and it’s south facing so I wanted to keep all of the box shaded and away from the sun.
I added a nest cup, with was made from clay, and then stuck some budgie feathers (no budgies were hurt during the making of this) , some fluff from the tumble dryer and some twigs. The idea of this is to give the birds a head start, it takes a swift a full season to build a nest, this might just give them the encouragement they need to breed that year if they are mature birds- although swifts add to their nest every year as its slowly decomposing all the time.


No comments:
Post a Comment